OAuth is an open protocol that authorizes a client application to access data from a protected resource through the exchange of tokens. This guide walks through all five layers - from tokens and scopes to testing the flow in Postman.
What is OAuth?
OAuth lets a client application access protected resources without ever handling the user's credentials directly. Instead, it relies on short-lived tokens issued after an authorization flow. In Salesforce, a connected app receives those tokens on behalf of the client.
Layer 1: tokens & scope
OAuth's tokens authorize access to protected resources. Connected apps receive tokens on behalf of a client after authorization. Scopes further define which protected resources the connected app can access - you assign them when you build the app, and they ride along with the tokens during the flow.
Access Tokens
Your key to Salesforce APIs, issued on a successful flow. Salesforce supports opaque tokens and JWT-based access tokens - each with its own trade-offs.
OAuth Endpoints
The URLs you call to make authorization requests. For external web apps, use the OAuth 2.0 web server flow (authorization code grant), which protects the app's client ID and secret.
Layer 2: configure a connected app
A connected app requests access to REST API resources on behalf of the client. To do so it must be integrated with your org's REST API using OAuth 2.0. Here's how to create one:
- Go to Setup. Open the Setup menu in your Salesforce org.
- Find App Manager. Enter App Manager in the Quick Find box.
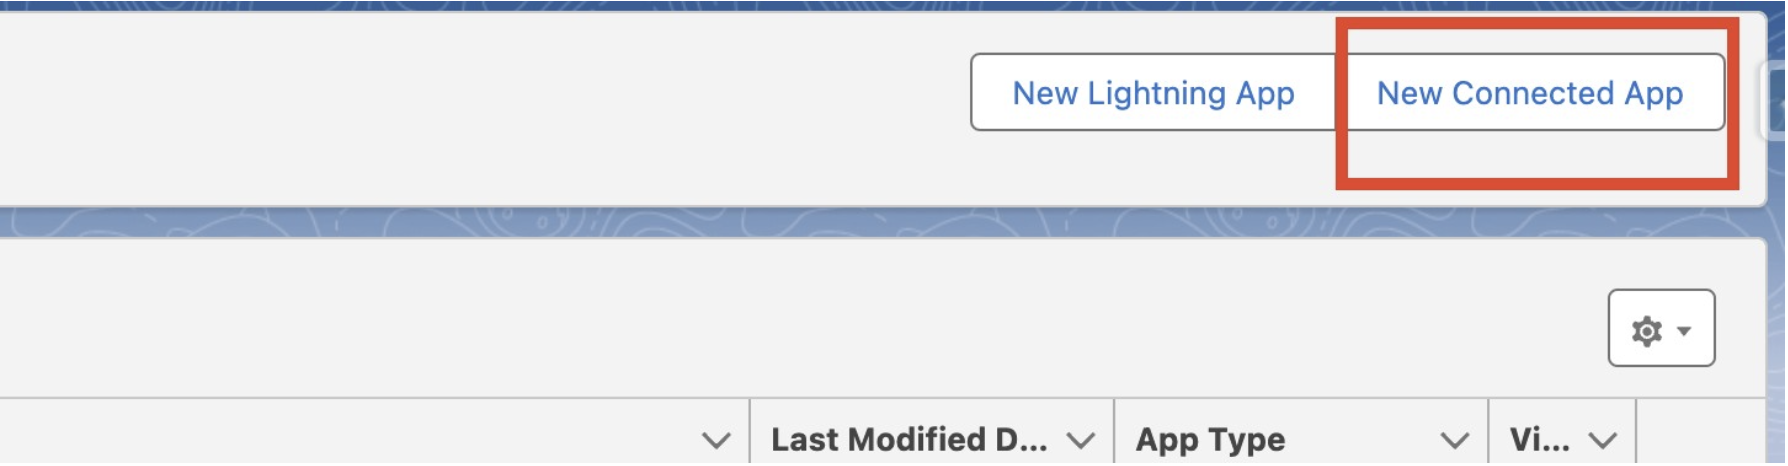
- New Connected App. Click the New Connected App button.
- Basic details. Provide name, email, and a callback URL (your org URL).
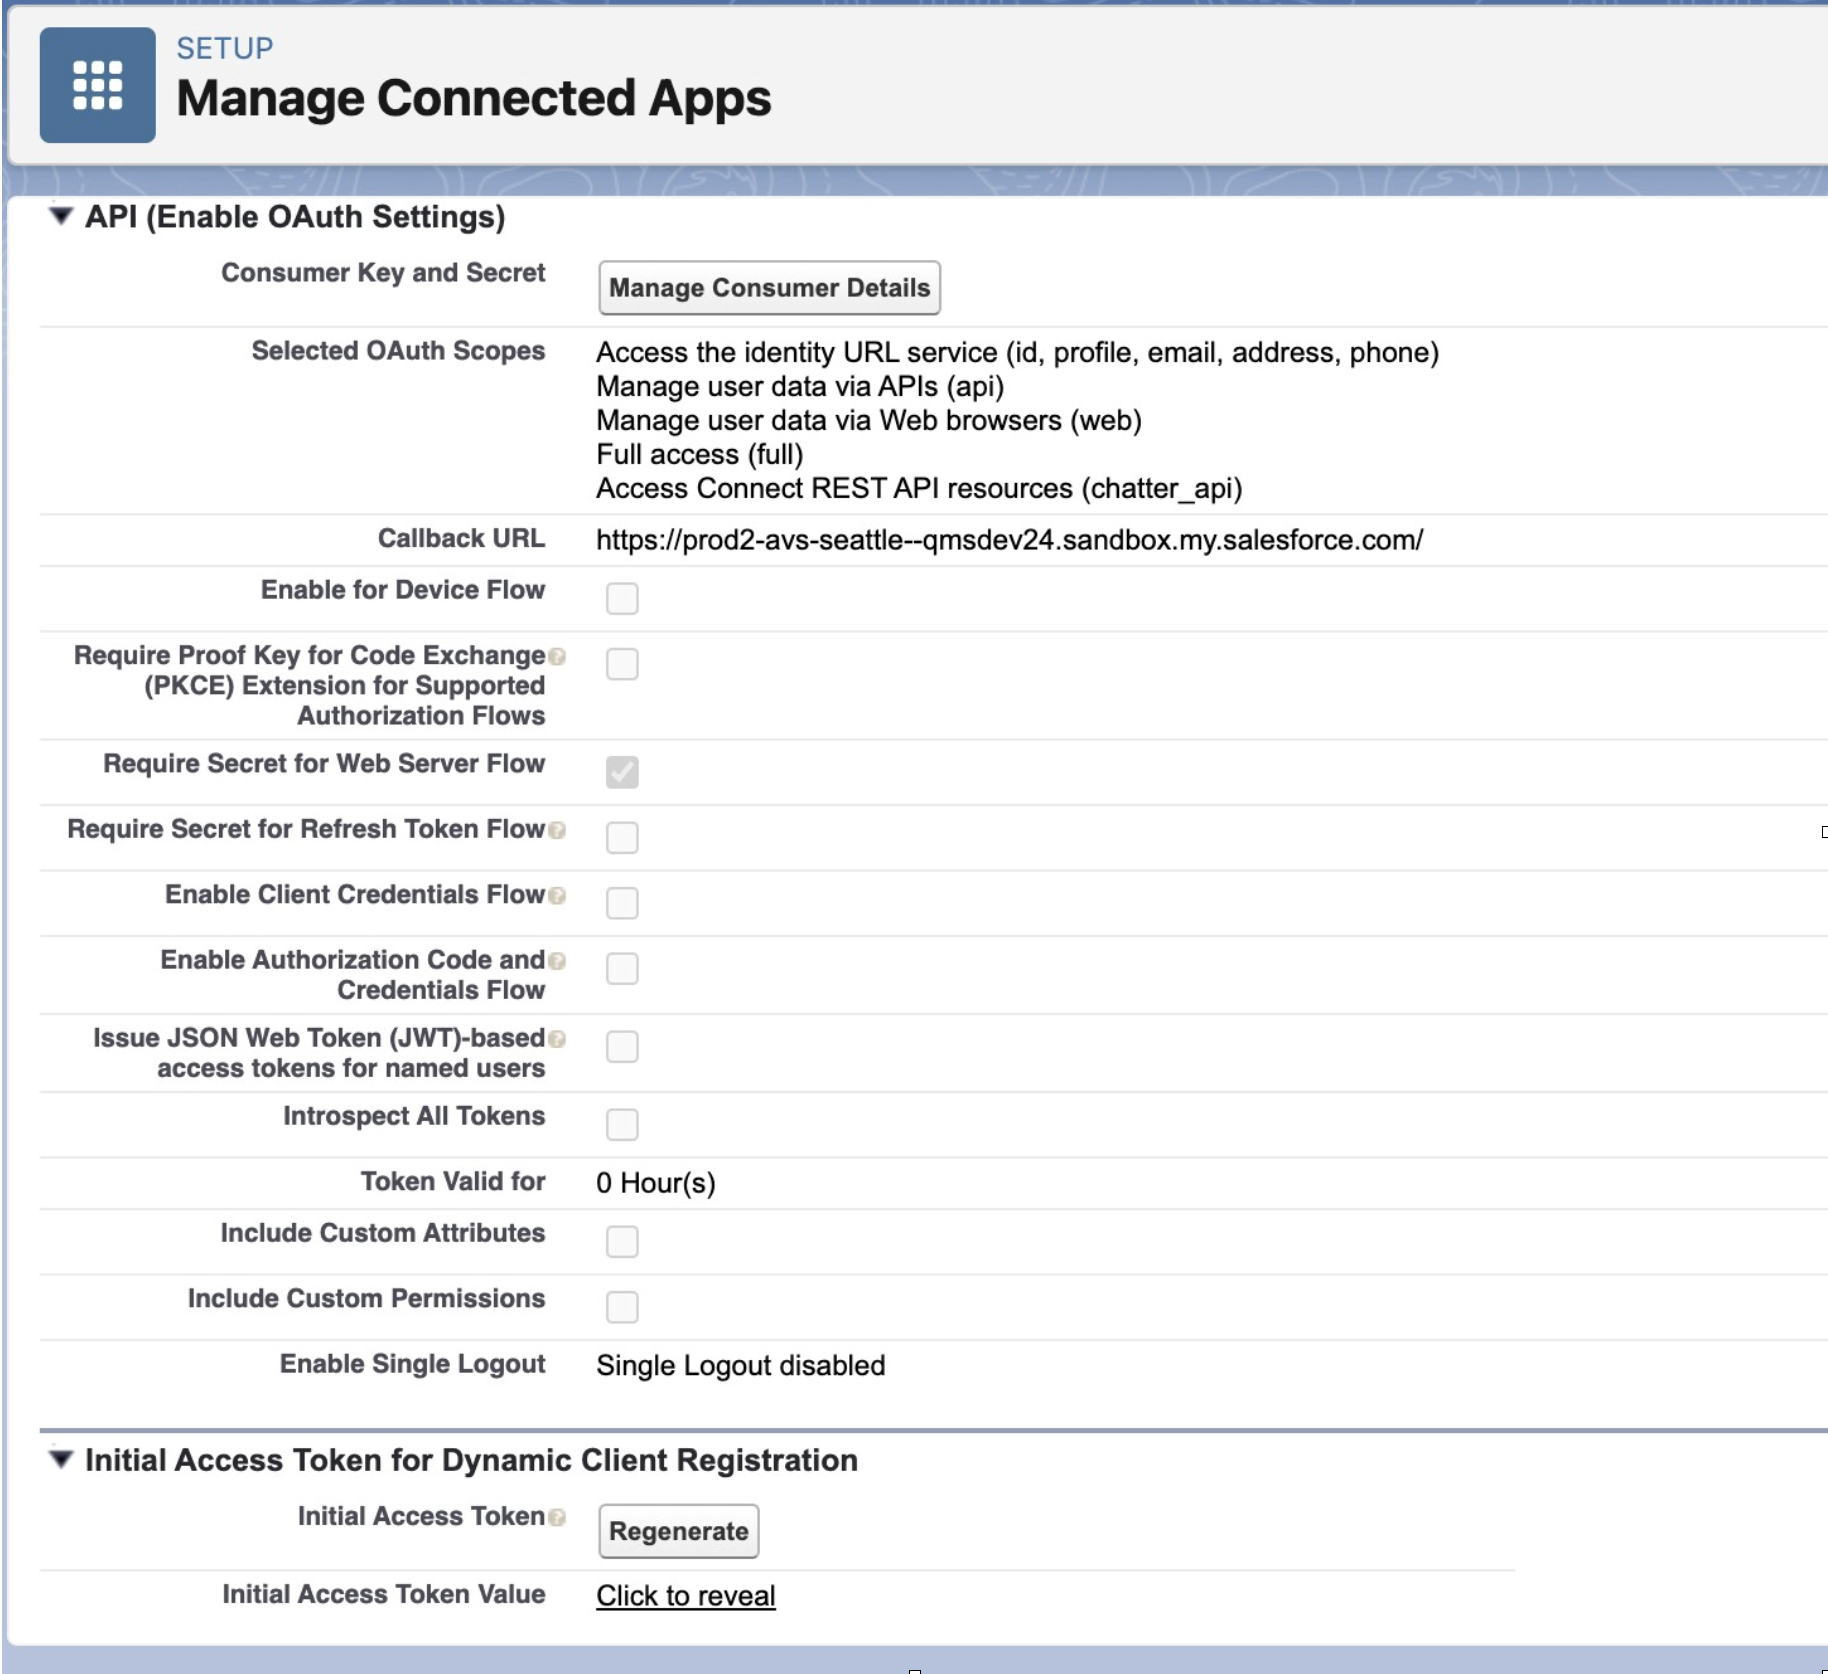
- Enable OAuth settings and select your OAuth scopes, then save.
- Manage Consumer Details. Stay on the page and open it to get the client ID and client secret needed for authentication.
Layer 3: auth providers
An Auth Provider represents an authentication provider. Only users with Customize Application and Manage Auth. Providers permissions can access this object.
- Go to Setup.
- Find Auth. Providers. Search for it in the Quick Find box.
- Click New.
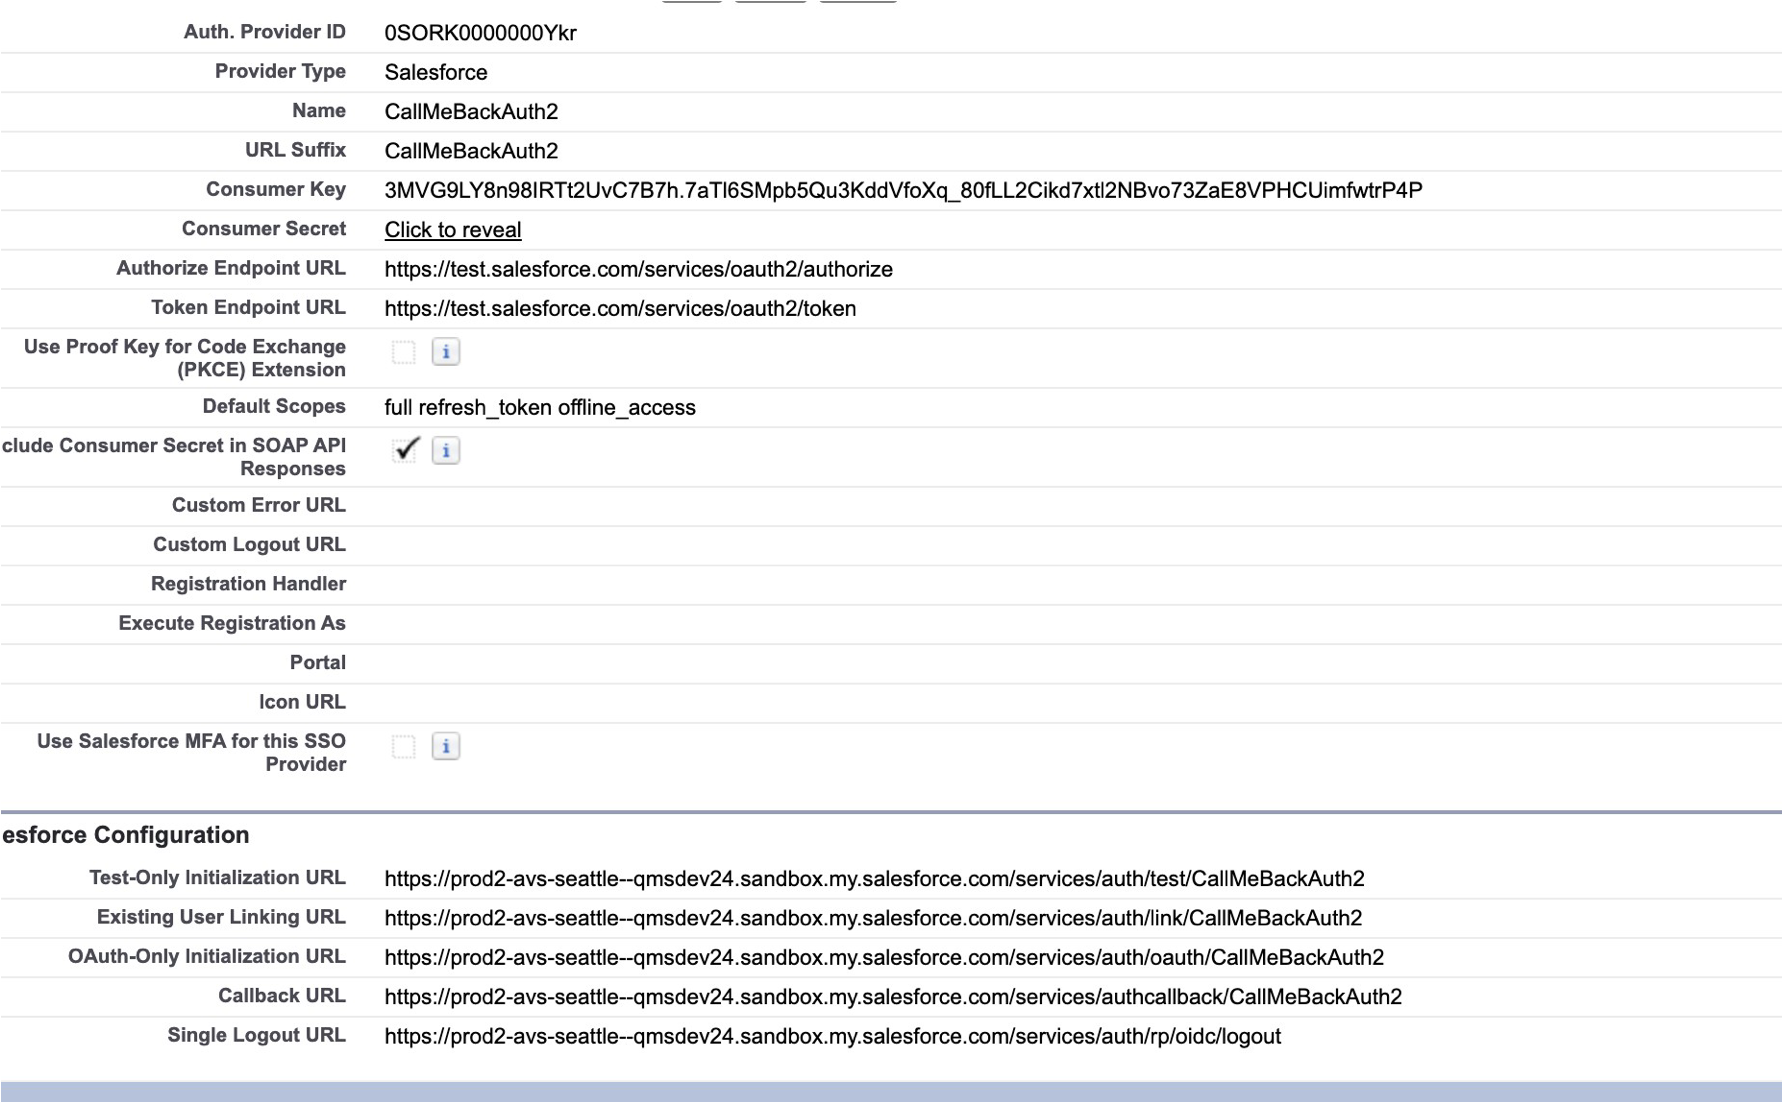
- Configure. Select Provider Type: Salesforce, then enter the client ID and client secret generated by your connected app. Add default scopes: full refresh_token offline_access.
Layer 4: named credentials
To simplify authenticated callouts, specify a named credential as the callout endpoint. It bundles the URL and authentication so your Apex never handles raw secrets.
- Go to Setup and search for Named Credentials.
- New Legacy. Click the dropdown next to New, then New Legacy.
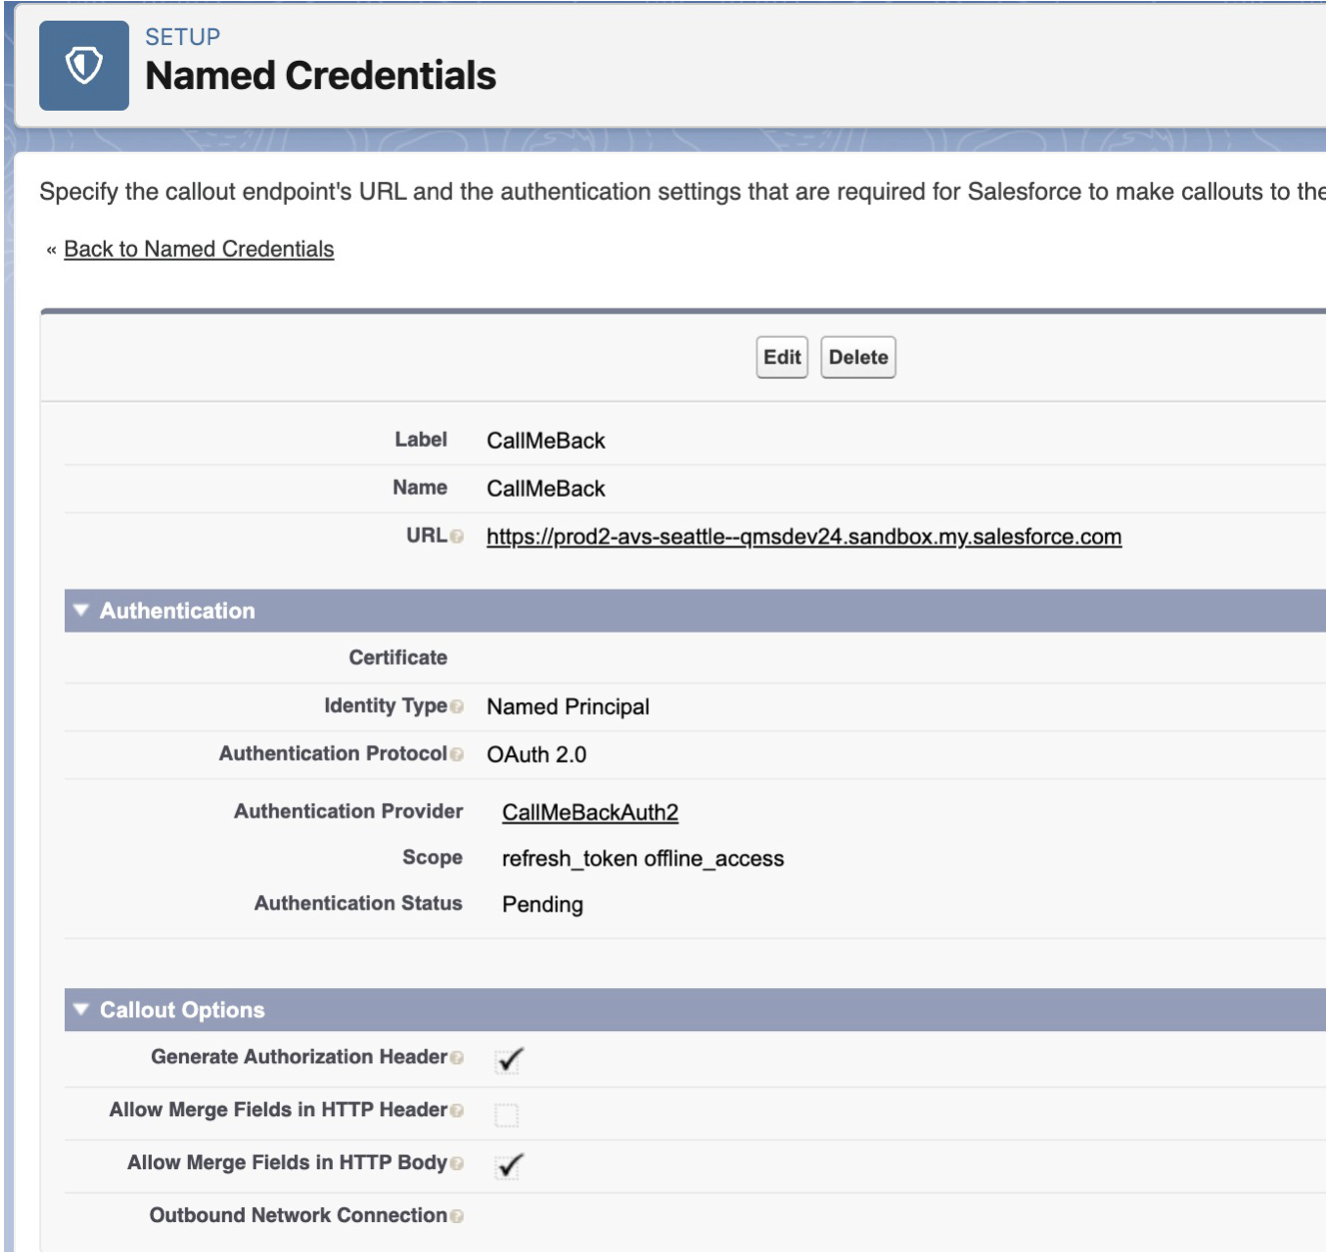
- Label & URL. Give a label and the URL (your org URL).
- Identity & protocol. Select Named Principal as the identity type and OAuth 2.0 as the protocol.
- Link the Auth Provider. Choose your Auth. Provider as the authentication provider and supply the scope.
Layer 5: test with Postman
Finally, verify the flow by requesting a token directly. Create a collection and configure a request:
- Method & URL. Use POST to https://test.salesforce.com/services/oauth2/token for a sandbox - replace test with login in production.
- Authorization: select No Auth.
- Header: key Content-Type, value application/x-www-form-urlencoded.
- Body: choose x-www-form-urlencoded and supply the credentials below.
grant_type    = password
client_id     = <your client id>
client_secret = <your secret key>
username      = 'org username'
password      = 'org password'
Heads up: the password grant is convenient for testing, but for production integrations prefer the web server (authorization code) or JWT bearer flows - they avoid storing user passwords.
Summary
REST APIs are the basis of all interactions between applications, and OAuth is what makes those interactions secure. With tokens and scopes, a connected app, an auth provider, a named credential, and a quick Postman test, you have a complete, secure OAuth 2.0 setup - letting third-party apps transmit and access data across Salesforce safely.
Wiring up a Salesforce integration?
Our Salesforce-native team ships OAuth, connected-app, and named-credential patterns across finance, healthcare, manufacturing, and aviation. Let's make yours clean and secure.
Talk to an Engineer